
Delight in a No-Bake Cherry Cheesecake
If you’re craving a dessert that’s creamy, fruity, and effortlessly delicious, you’re going to love this No-Bake Cherry Cheesecake. Combining the rich, smooth texture of cream cheese with the sweet and tangy burst of cherry pie filling, this dessert is a celebration of flavor and simplicity. The aroma of buttery graham cracker crust melds beautifully with the fresh lemony notes that brighten up the filling, making every bite a perfect balance of indulgence and freshness. Whether you’re a seasoned baker or a kitchen beginner, this easy-to-make, no-bake recipe is sure to impress your family and friends while keeping you stress-free.
Preparing this cheesecake takes minimal effort but delivers maximum satisfaction. It’s perfect for warm days when heating up the oven isn’t ideal, or for a fast sweet treat that looks like it came from a bakery. Let’s dive into how you can make this luscious No-Bake Cherry Cheesecake with just a few simple ingredients and steps.
Prep and Cook Time
This recipe is as convenient as it gets: Prep Time: 20 minutes, Cook Time: 0 minutes, Total Time: 4 hours 20 minutes (including chilling), Servings: 8 generous slices.
Ingredients
Crust:
- 9 graham cracker sheets
- ½ cup melted butter
- 1 tablespoon sugar
Filling:
- 16 ounces cream cheese, softened
- 8 ounces whipped topping
- 1 cup powdered sugar
- 1 teaspoon lemon juice
Topping:
- 21 ounces cherry pie filling
Step-by-Step Instructions
- Prepare the crust: Place the 9 graham cracker sheets into a food processor and pulse until they become fine crumbs.
- Transfer the crumbs to a medium bowl. Add ½ cup melted butter and 1 tablespoon sugar. Mix thoroughly until combined.
- Line an 8×8-inch baking pan with parchment paper, allowing excess to hang over the sides for easy removal later.
- Press the crumb mixture firmly and evenly into the bottom of the pan, forming a solid crust layer.
- Place the crust in the refrigerator to chill while you prepare the filling—this helps it set properly.
- Make the filling: In a large mixing bowl, combine 16 ounces of softened cream cheese, 8 ounces whipped topping, 1 cup powdered sugar, and 1 teaspoon lemon juice.
- Beat the mixture with an electric mixer on medium speed until it is smooth, creamy, and free of lumps.
- Remove the chilled crust from the fridge and evenly spread the cream cheese filling over it using a spatula.
- Add the topping and chill: Carefully spoon the 21 ounces of cherry pie filling evenly over the cheesecake layer.
- Return the cheesecake to the refrigerator and let it chill for at least 4 hours, or until fully set and firm to the touch.
- Once set, use the parchment paper handles to lift the cheesecake out of the pan, slice into 8 pieces, and serve.
Pro Tips for the Perfect No-Bake Cherry Cheesecake
- Use full-fat cream cheese: It yields the creamiest texture and best flavor. Low-fat versions can make the filling watery.
- Don’t skip chilling the crust: This step ensures it firms up and holds together when slicing.
- Beat the filling until smooth: Lumps in the cream cheese can detract from the silky mouthfeel.
- Control the sweetness: Taste and adjust powdered sugar if you prefer a less sweet cheesecake.
- Use fresh lemon juice: It adds brightness and balances the sweetness; bottled may lack freshness.
Variations and Substitutions
You can easily customize this cheesecake to suit your taste or dietary preferences:
- Crust Alternatives: Substitute graham crackers with digestive biscuits or gluten-free cookies for dietary needs.
- Healthier swaps: Use Greek yogurt mixed with cream cheese to lighten the filling while maintaining creaminess.
- Fruit Toppings: Swap cherry pie filling with blueberry, strawberry, or mixed berry fillings for different flavors.
- Sweeteners: Replace powdered sugar with a natural sweetener like powdered erythritol for a lower sugar option.
- Dairy-Free Version: Use dairy-free cream cheese and whipped topping alternatives to make it vegan-friendly.
Storage and Reheating Tips
Store your No-Bake Cherry Cheesecake covered in the refrigerator to keep it fresh for up to 4 days. It’s best enjoyed chilled to maintain its texture and flavor. If you want to prepare it ahead of time, this cheesecake also freezes well. Wrap individual slices or the whole cheesecake tightly in plastic wrap and then aluminum foil before placing in the freezer. It will keep for up to 1 month frozen.
To thaw, transfer from freezer to refrigerator and allow to defrost overnight. Avoid reheating as this dessert is best served cold and reheating may alter its creamy texture negatively.
Frequently Asked Questions
- Can I make this cheesecake in a different pan size?
Yes, but adjust the thickness and chilling time accordingly. A larger pan will produce thinner slices, and a smaller pan thicker slices. - Is it necessary to use a food processor for the graham crackers?
No, you can place graham crackers in a sealed plastic bag and crush them with a rolling pin until fine crumbs form. - Can I use fresh cherries instead of pie filling?
Fresh cherries work wonderfully; just toss them with a bit of sugar and cornstarch to mimic the pie filling texture before topping. - What whipped topping is recommended?
Use a high-quality store-bought whipped topping such as Cool Whip or homemade whipped cream stabilized with a bit of gelatin for best results. - How do I prevent the cheesecake from being too sweet?
Reduce the powdered sugar slightly or use a less sweetened pie filling. The lemon juice in the filling also helps balance sweetness.
Nutrition Estimate Per Serving
Each serving of this No-Bake Cherry Cheesecake contains approximately 350 calories, with 5 grams of protein, 42 grams of carbohydrates, and 18 grams of fat. The fat content mainly comes from the cream cheese and butter in the crust, providing a rich texture. Carbohydrates are derived from the graham crackers, powdered sugar, and cherry pie filling. This dessert offers a delightful treat balanced with moderate protein and satisfying sweetness.
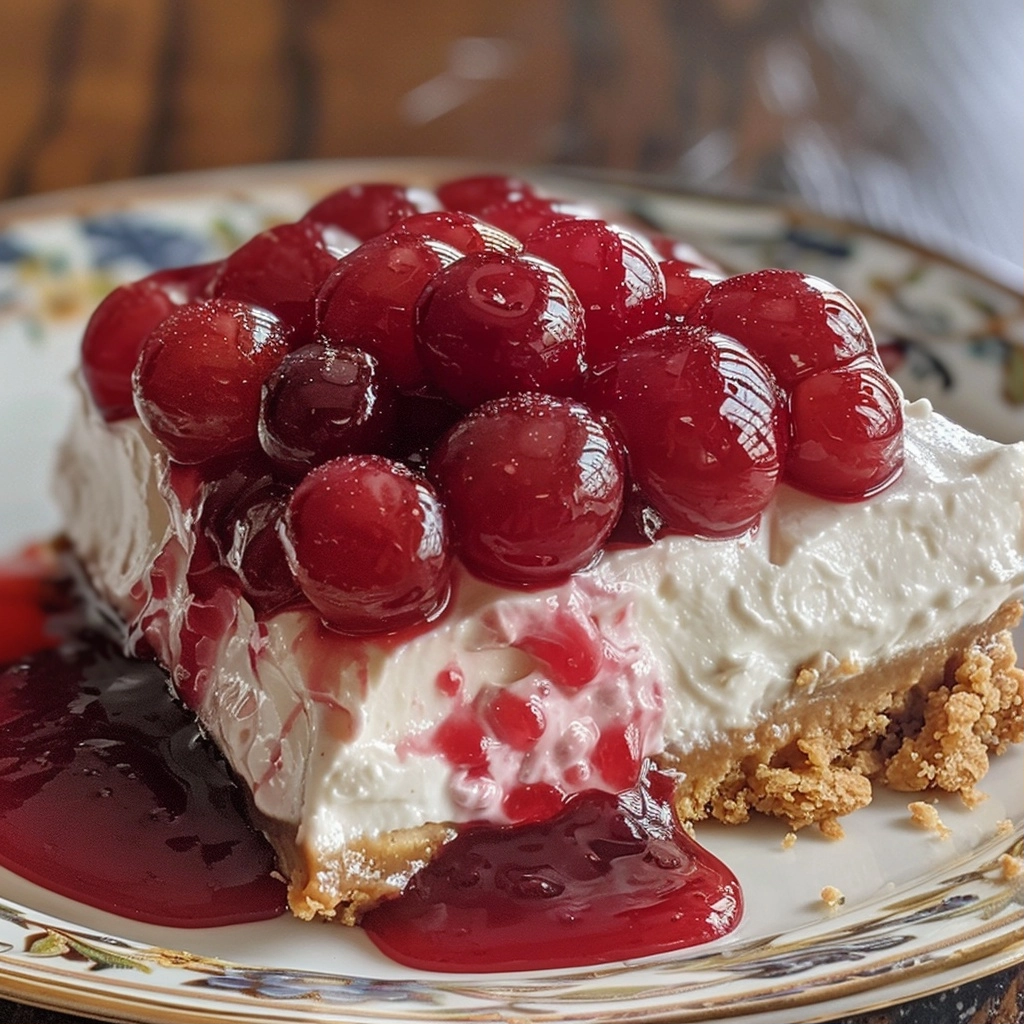
No-Bake Cherry Cheesecake

A creamy, fruity, and effortlessly delicious no-bake dessert featuring a buttery graham cracker crust, a smooth cream cheese filling with a hint of lemon, and a sweet cherry topping. Perfect for any occasion.
- 9 graham cracker sheets
- ½ cup melted butter
- 1 tablespoon sugar
- 16 ounces cream cheese, softened
- 8 ounces whipped topping
- 1 cup powdered sugar
- 1 teaspoon lemon juice
- 21 ounces cherry pie filling
-
Prepare the crust: Place 9 graham cracker sheets in a food processor and pulse until they become fine crumbs.
-
Transfer the crumbs to a medium bowl. Add ½ cup melted butter and 1 tablespoon sugar. Mix thoroughly until combined.
-
Line an 8×8-inch baking pan with parchment paper, allowing excess to hang over the sides for easy removal.
-
Press the crumb mixture firmly and evenly into the bottom of the pan, forming a solid crust layer.
-
Place the crust in the refrigerator to chill while you prepare the filling.
-
Make the filling: In a large mixing bowl, combine 16 ounces of softened cream cheese, 8 ounces whipped topping, 1 cup powdered sugar, and 1 teaspoon lemon juice.
-
Beat the mixture with an electric mixer on medium speed until smooth, creamy, and free of lumps.
-
Remove the chilled crust from the fridge and evenly spread the cream cheese filling over it using a spatula.
-
Add the topping and chill: Carefully spoon the 21 ounces of cherry pie filling evenly over the cheesecake layer.
-
Return the cheesecake to the refrigerator and let it chill for at least 4 hours before slicing and serving.
For best results, ensure the cream cheese is well softened before mixing.
Cherry pie filling can be replaced with fresh or frozen cherries for a homemade twist.
Keep the cheesecake refrigerated until ready to serve.
Serves 8.