
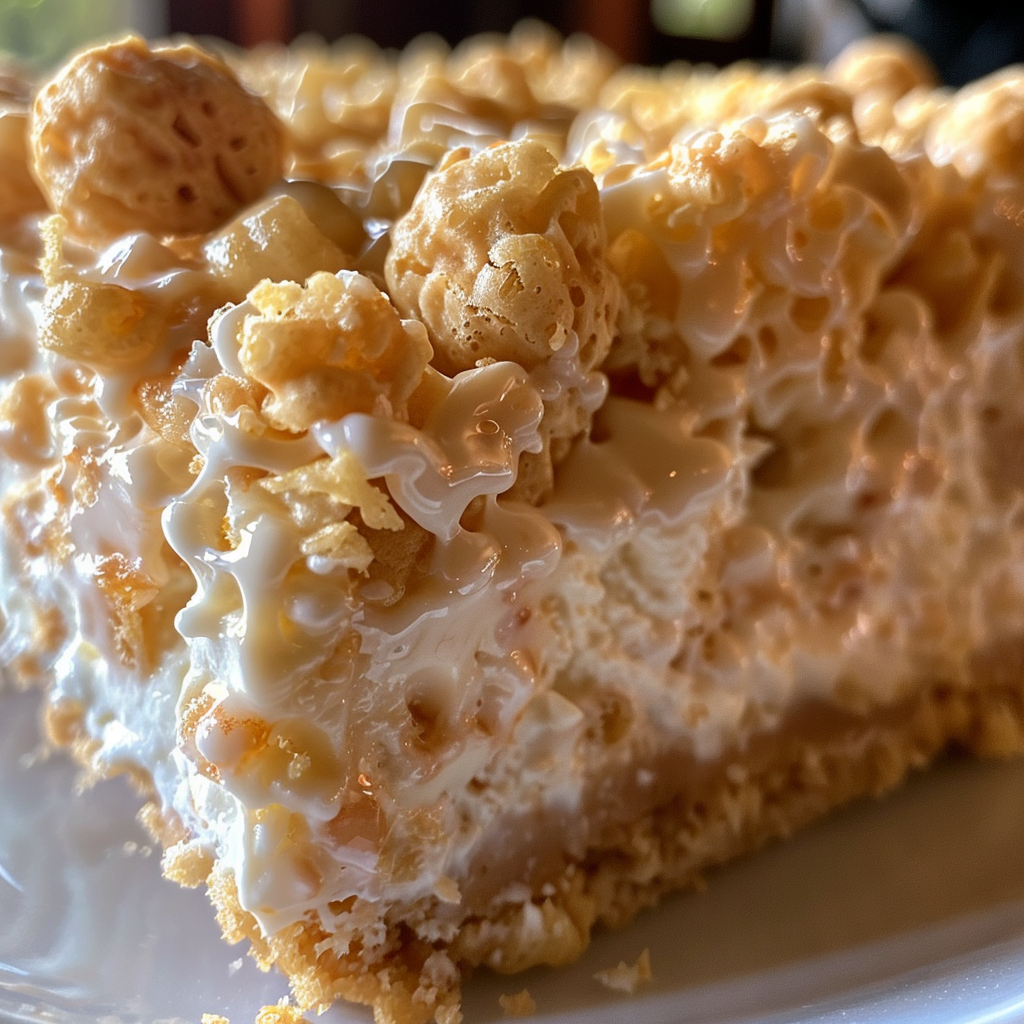
Deliciously Easy Rice Krispy Treat No-Bake Cheesecake
If you’re on the hunt for a dessert that perfectly combines crispy, creamy, and sweet textures, look no further than this Rice Krispy Treat No-Bake Cheesecake. Imagine the irresistible crunch of Rice Krispies mixed with luscious, smooth cheesecake filling—without ever turning on your oven! This no-bake delight captures the nostalgic joy of classic Rice Krispy treats but elevates it with rich cream cheese, a touch of vanilla, and the lightness of whipped topping. The aroma of melted butter and marshmallows melded with the tangy cheesecake is guaranteed to make your kitchen smell heavenly while impressing family and friends.
Best of all, this recipe is straightforward, beginner-friendly, and perfect for those warm days when you want a cool, refreshing treat. You’ll love how simple it is to make, how gorgeous it looks presented, and most importantly, how scrumptious every bite tastes.
Prep Time, Cook Time, Total Time, and Servings
This recipe takes about 10 minutes for prep, no baking required, and approximately 4 hours chilling time to set properly. Total time from start to finish is around 4 hours and 10 minutes. It comfortably serves 8 to 10 people, making it perfect for family gatherings, potlucks, or special occasions.
Ingredients
- 6 cups Rice Krispies cereal
- 1/4 cup salted butter
- 1 package (10 oz) marshmallows
- 16 oz cream cheese, softened
- 1 cup powdered sugar
- 1 teaspoon vanilla extract
- 1 1/2 cups whipped topping (cool whip or homemade whipped cream)
- Chocolate syrup (optional, for drizzling)
- Caramel sauce (optional, for drizzling)
- Fresh berries or crushed candy (optional, for garnish)
Step-by-Step Instructions
- Prepare the Rice Krispy Crust: In a large saucepan, melt 1/4 cup salted butter over low heat. Once melted, add the entire package (10 oz) of marshmallows. Stir continuously until the marshmallows are completely melted and combined with the butter.
- Mix in Rice Krispies: Remove the saucepan from heat. Gradually stir in 6 cups of Rice Krispies cereal until every piece is fully coated in the marshmallow mixture.
- Form the Base: Lightly grease a 9-inch springform pan, then firmly press the Rice Krispy mixture evenly into the bottom of the pan. Ensure it’s compacted well to provide a sturdy base. Let it cool and set while you prepare the cheesecake filling.
- Beat the Cream Cheese Filling: In a mixing bowl, beat 16 oz of softened cream cheese until smooth and creamy. Add 1 cup powdered sugar and 1 teaspoon vanilla extract, mixing until fully combined and silky.
- Fold in Whipped Topping: Gently fold 1 1/2 cups whipped topping into the cream cheese mixture until the filling is light and fluffy. Be careful not to overmix to maintain a dreamy texture.
- Assemble the Cheesecake: Spread the cheesecake filling evenly over the cooled Rice Krispy crust. Use a spatula to smooth the top for a clean finish.
- Refrigerate and Set: Cover the pan and refrigerate for at least 4 hours to allow the cheesecake to fully set and flavors to meld beautifully.
- Serve with Toppings: Before serving, add your favorite toppings like drizzles of chocolate syrup or caramel sauce, fresh berries, or crushed candy for extra flair and flavor. Slice and enjoy!
Pro Tips for Perfect Rice Krispy Treat No-Bake Cheesecake
- Use Fresh Marshmallows: Fresh marshmallows melt better and create a smoother crust texture compared to mini marshmallows.
- Softened Cream Cheese: Make sure the cream cheese is room temperature to avoid lumps in your filling.
- Don’t Skip the Chilling Time: Chilling for at least 4 hours is crucial for firm cheesecake slices and creamy texture.
- Press Crust Firmly: Use the back of a spoon or a flat spatula to compact the Rice Krispy crust tightly for a sturdy base.
- Gentle Folding: Fold whipped topping gently so as not to deflate the airy texture of the filling.
Variations and Substitutions
Feel free to customize this recipe to suit your tastes or dietary preferences:
- Healthier Swaps: Use reduced-fat or Neufchâtel cream cheese and sugar substitute powders like erythritol to reduce calories.
- Dairy-Free Version: Substitute cream cheese with vegan cream cheese and use a dairy-free whipped topping.
- Flavor Boost: Add a tablespoon of lemon zest to the filling for a citrus twist or swirl in peanut butter before chilling.
- Nutty Touch: Sprinkle chopped toasted almonds or pecans on top before serving.
- Fruit Filling: Layer fresh strawberries or blueberries between the crust and filling for an added burst of freshness.
Storage and Reheating Tips
Because this is a no-bake cheesecake, proper storage helps maintain its texture and flavor:
- Refrigerate: Store leftovers in the refrigerator, covered tightly with plastic wrap or in an airtight container. It will stay fresh for up to 4 days.
- Freezing: This cheesecake freezes well for up to 1 month. Wrap tightly with plastic wrap and aluminum foil before freezing. Thaw overnight in the fridge before serving.
- Reheating: No reheating needed. Serve chilled for best texture and flavor.
Frequently Asked Questions (FAQs)
- Can I use a regular cake pan instead of a springform pan?
- Yes, you can use a regular 9-inch cake pan lined with parchment paper for easier removal, but slicing may be trickier without the removable sides.
- Is it possible to make this gluten-free?
- Yes! Simply use gluten-free Rice Krispies cereal certified gluten-free to keep the crust safe for gluten-sensitive diets.
- Can I make this recipe ahead of time?
- Absolutely! Prepare the entire dessert the day before your event. Keep it refrigerated and add toppings just before serving for freshness.
- What is the best way to get clean slices?
- Use a sharp knife dipped in hot water and wiped dry between each cut for clean, neat slices.
- Can I add any flavor extracts other than vanilla?
- Definitely! Almond, lemon, or coconut extract can be used instead of vanilla to change the flavor profile.
- What whipped topping works best?
- Store-bought whipped topping like Cool Whip works great for convenience, but freshly whipped heavy cream yields a richer, fresher texture.
Nutrition Estimate Per Serving
Each serving of this Rice Krispy Treat No-Bake Cheesecake (assuming 10 servings) contains approximately 320 calories, 4 grams of protein, 45 grams of carbohydrates, and 14 grams of fat. The carbs come primarily from Rice Krispies cereal and powdered sugar, while the fat is predominantly from butter and cream cheese. This dessert offers a delicious indulgence that balances creamy and crunchy textures without requiring baking.

Rice Krispy Treat No-Bake Cheesecake
Ingredients
- 6 cups Rice Krispies cereal
- 1/4 cup salted butter
- 1 package (10 oz) marshmallows
- 16 oz cream cheese, softened
- 1 cup powdered sugar
- 1 teaspoon vanilla extract
- 1 1/2 cups whipped topping
- Chocolate syrup (optional)
- Caramel sauce (optional)
- Fresh berries or crushed candy (optional)
Instructions
- Melt 1/4 cup butter in a saucepan over low heat.
- Add 10 oz marshmallows and stir until melted and blended.
- Remove from heat, gradually stir in 6 cups Rice Krispies until fully coated.
- Press mixture into the bottom of a greased 9-inch springform pan to form a compact crust. Let cool slightly.
- In a bowl, beat 16 oz softened cream cheese until smooth.
- Add 1 cup powdered sugar and 1 teaspoon vanilla, mixing until silky.
- Gently fold in 1 1/2 cups whipped topping until no streaks remain.
- Spread the cream cheese mixture over the cooled Rice Krispie crust in the pan.
- Smooth the top and chill for 4 hours, or until firm.
- Unmold, slice, and serve with optional garnishes like chocolate syrup or berries.
Notes
For a lighter option, substitute half the whipped topping with whipped cream.
Store in an airtight container in the refrigerator for up to 3 days.