
Introduction
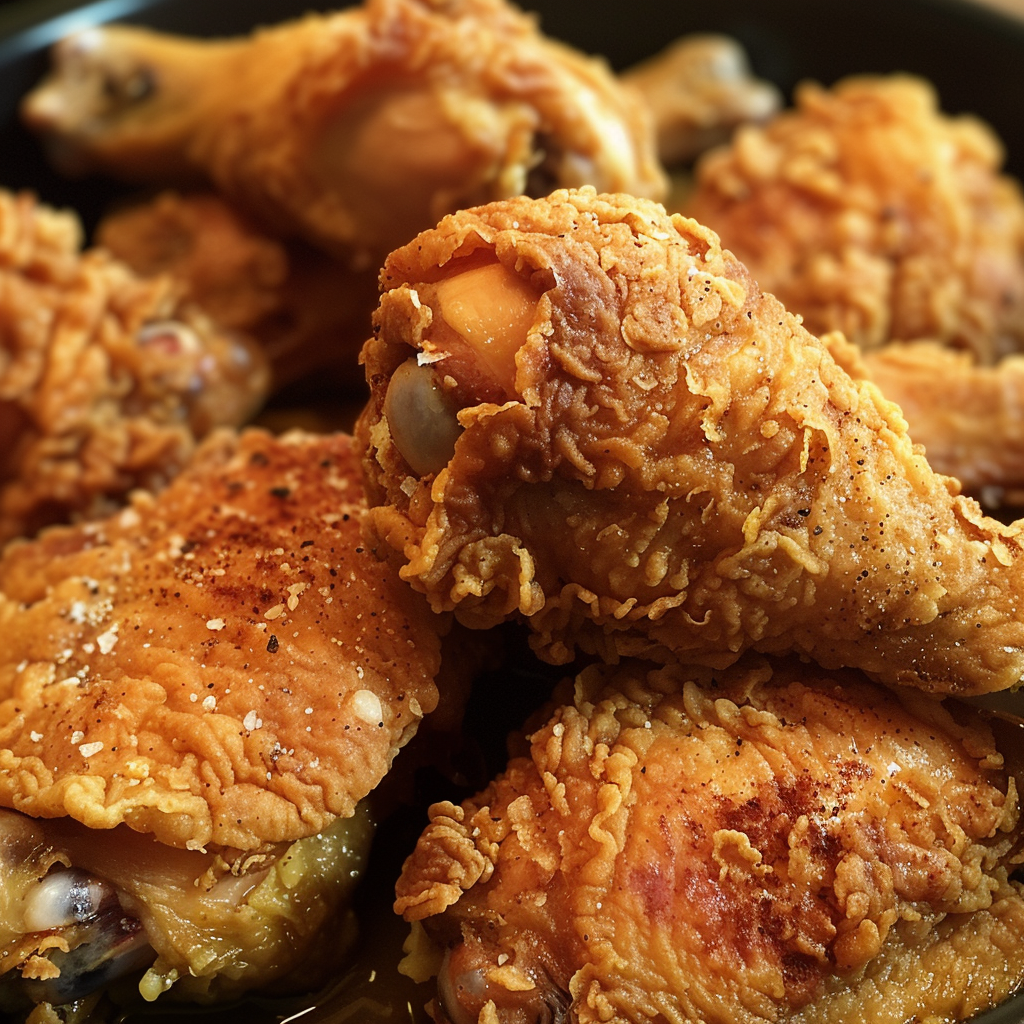
There’s something irresistibly comforting about Grandma’s Iron-Skillet Fried Chicken. The perfect combination of crispy, golden-brown crust and tender, juicy chicken inside makes every bite a flavor-packed experience. The aroma of spices mingling with sizzling oil fills the kitchen, evoking nostalgia and warmth. This recipe is a timeless classic that delivers that authentic southern fried chicken taste—crispy on the outside, moist and flavorful on the inside—making it a beloved favorite you’ll love recreating at home.
Read on to discover how to make this flavorful dish step-by-step with simple ingredients you probably already have in your pantry. Whether it’s a family dinner or a weekend treat, this iron-skillet fried chicken will impress everyone at your table.
Prep Time, Cook Time, Total Time, and Servings
This recipe requires some marinating time, but the hands-on prep and cook time are straightforward for any home cook. You’ll need about 15 minutes to prep, 30 minutes to fry, and at least 4 hours (or overnight) to marinate the chicken for ultimate flavor and tenderness. In total, including marinating, it’s about 4 hours and 45 minutes. This recipe yields 8 generous servings, perfect for family meals or gatherings.
Ingredients
- 8 chicken pieces (drumsticks and thighs)
- 2 cups buttermilk
- 2 cups all-purpose flour
- 1 teaspoon salt
- 1 teaspoon black pepper
- 1 teaspoon paprika
- 1 teaspoon garlic powder
- 1/2 teaspoon onion powder
- 1/2 teaspoon cayenne pepper
- Vegetable oil for frying (about 1 inch in the skillet)
Step-by-Step Instructions
- Marinate the chicken: Place the 8 pieces of chicken in a large bowl. Pour the 2 cups of buttermilk over the chicken, making sure each piece is well coated. Cover the bowl with plastic wrap and refrigerate for at least 4 hours, or preferably overnight. This step tenderizes the chicken and infuses it with flavor.
- Prepare the flour mixture: In a separate large bowl, combine 2 cups of all-purpose flour with 1 teaspoon salt, 1 teaspoon black pepper, 1 teaspoon paprika, 1 teaspoon garlic powder, 1/2 teaspoon onion powder, and 1/2 teaspoon cayenne pepper. Mix thoroughly to evenly disperse the spices.
- Dredge the chicken: Remove each chicken piece from the buttermilk bath, allowing excess to drip off. Dredge each piece in the seasoned flour mixture, pressing gently to ensure a full, even coating on all sides. Place the coated pieces on a plate or tray and let them rest for 10 minutes. This resting time helps the coating adhere better when frying.
- Heat the oil: Pour vegetable oil into a large cast-iron skillet to about 1 inch depth. Heat over medium heat until hot but not smoking. You can test the temperature by dropping a pinch of flour into the oil—if it sizzles immediately, the oil is ready.
- Fry the chicken: Carefully place the coated chicken pieces into the hot oil without overcrowding the skillet. Fry for about 12-15 minutes per side. Turn occasionally so the chicken cooks evenly and the crust develops a deep golden-brown color. Use a meat thermometer to confirm the chicken’s internal temperature reaches 165°F (75°C) to ensure it is fully cooked.
- Drain and serve: Once cooked, transfer the fried chicken onto a wire rack or layers of paper towels to drain excess oil. Serve warm for the best crunch and juiciness.
Pro Tips for Perfect Fried Chicken
- Marinate longer: For the juiciest meat, marinate the chicken overnight if possible. The buttermilk tenderizes and infuses amazing flavor.
- Use a cast-iron skillet: It distributes heat evenly, resulting in perfectly cooked, crispy chicken.
- Maintain oil temperature: Keep the oil at a consistent medium heat to avoid greasy or burnt coating.
- Don’t overcrowd the pan: Fry in batches if necessary to maintain oil temperature and ensure crispiness.
- Rest after dredging: Letting the coated chicken rest helps the flour adhere and produce a crunchy crust.
Variations and Substitutions
If you want to tweak this classic, here are some ideas:
- Spice it up: Add smoked paprika or chili powder for extra smoky or spicy notes.
- Herb infusion: Mix dried thyme or oregano into the flour mixture for aromatic depth.
- Healthier option: Use skinless chicken thighs and swap all-purpose flour with whole wheat flour or gluten-free flour if needed.
- Oil alternatives: Instead of vegetable oil, use canola or sunflower oil for a lighter taste.
Storage and Reheating Tips
Store leftover fried chicken in an airtight container in the refrigerator for up to 3 days. To reheat and restore crispiness, preheat your oven to 375°F (190°C), place the chicken on a wire rack over a baking sheet, and heat for 15-20 minutes until crispy and warmed through. Avoid microwaving as it results in soggy skin.
Frequently Asked Questions
- Can I use chicken breasts instead of drumsticks or thighs?
- Yes, but adjust frying time to be slightly shorter to prevent drying out. Chicken thighs and drumsticks remain juicier and more forgiving during frying.
- Is buttermilk necessary?
- Buttermilk tenderizes and adds tangy flavor, but you can substitute with plain yogurt or milk mixed with a tablespoon of lemon juice or vinegar.
- How do I know when the oil is the right temperature?
- The oil should sizzle when you drop in a pinch of flour or a small piece of bread. Use a thermometer aiming for around 350°F (175°C) for ideal frying.
- Can this recipe be made gluten-free?
- Absolutely. Use a gluten-free flour blend suitable for frying in place of all-purpose flour, and ensure your spices are gluten-free.
- What if I don’t have a cast-iron skillet?
- You can use a heavy-bottomed stainless steel or non-stick skillet, but cast iron helps maintain steady heat, which produces the crispiest crust.
Nutrition Estimate Per Serving
Each serving of Grandma’s Iron-Skillet Fried Chicken contains approximately 450 calories, 30 grams of protein, 25 grams of carbohydrates, and 25 grams of fat. This balance makes it a satisfying and hearty meal. Keep in mind that nutrition can vary depending on portion size and oil absorption during frying.

Grandma's Iron-Skillet Fried Chicken
Ingredients
- 8 chicken pieces (drumsticks and thighs)
- 2 cups buttermilk
- 2 cups all-purpose flour
- 1 teaspoon salt
- 1 teaspoon black pepper
- 1 teaspoon paprika
- 1 teaspoon garlic powder
- 1/2 teaspoon onion powder
- 1/2 teaspoon cayenne pepper
- Vegetable oil for frying (about 1 inch in the skillet)
Instructions
- Place chicken in a bowl, coat with buttermilk. Refrigerate for at least 4 hours or overnight.
- In a separate bowl, mix flour with salt, black pepper, paprika, garlic powder, onion powder, and cayenne pepper.
- Dredge each chicken piece in the flour mixture, let rest 10 minutes on a plate/tray.
- Pour 1 inch of vegetable oil into a cast-iron skillet. Heat over medium until hot (use a thermometer to confirm 350°F if needed).
- Fry chicken in batches until golden and crispy (6-8 minutes per side). Drain on paper towels.
Notes
Use a heavy cast-iron skillet for optimal heat retention.
Serve with mashed potatoes, collard greens, or cornbread. Store leftovers in an airtight container for up to 3 days.